I never used to try and paint my own flags. I’m not a natural painter. I have to learn the techniques. Cheats. Anything to make life easier. So in the past I always used printed flags, either bought or printed myself. But when you start going down the ImagiNation route then no one does printed versions of the flags you want! So with the first Ayton event (back in 2011!!!) I painted my own flags for my 28mm Savage Swans and have continued to do so for most of my projects since then (apart from 15mm ACW when the prospect of so many stars and stripes was too daunting!). So this is how I do them…
I use a software package (usually GIMP) to play around with various line art gathered from the internet and then I’ve just used Scribus to create a template for laying out the flags. The flags for my 20mm figures are 30x30mm. I’ll be doing a 40mm template for my 28/30mm figures. Basically I build the flag up from Google’d images but a good starting point is the excellent Not By Appointment blog. I have three sets if flags planned for the Altefritzenburg brigade.
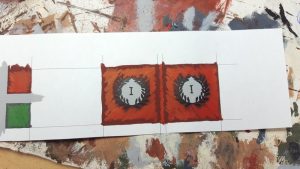
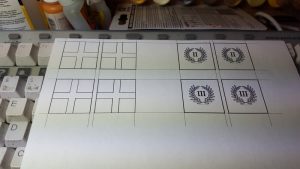 And starting on the first I block in the main colours using my base for that colour. For most if my ImagiNation forces I have fixed triads I always use for the same colours…
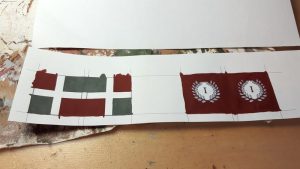
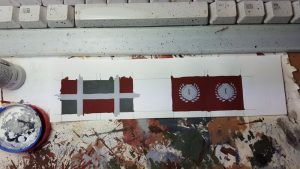 I then paint the main colour using a variable stroke at 45 degrees matching on both sides of the flag.
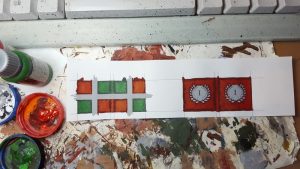 The wreath is blocked in in black and then the usual green triad used. I could probably get away without the base coat for this….
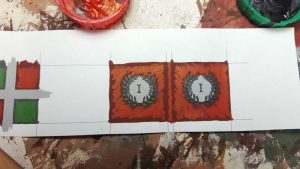
 With the main colours done the flag is PVA’d and mounted on a temporary bit of wire.
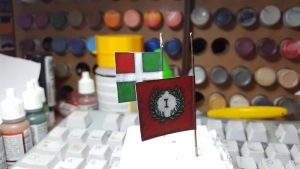 But most importantly the edges need filling in! No white! And a little curving added to the flag by wrapping it round a brush handle.
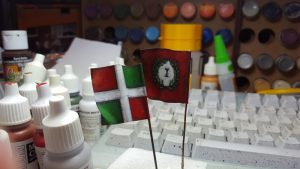
The final highlighting of the flag is done once the main curves are added and only to the raised areas… 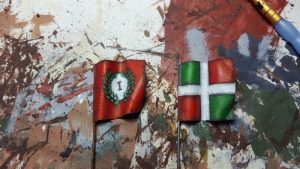 And then mounted on the unit
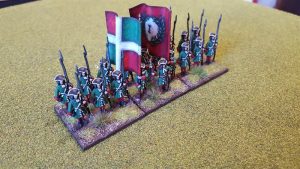 I never seem to be able to get enough movement in the flags. Something I need to work on….

Thanks for the tutorial. Your flags look really nice. Someone once told me to furl the flags on a diagonal axis away from the staff, rather than on the vertical axis. It gives the appearance of more movement
Extremely nice work, Andy.
It appears that you form the flag round a wire before fixing it to the flag staff, is that right?
use lead foil instead of paper, it only wraps around the staff and you paint one side then the other, put as many folds in as you like then highlight
Is it fairly robust after frequent bending? Doesn’t eventually tear?
Interesting, I only have used a brush on a flag already on the figure! Nightmare!
I use GIMP as you recommended years ago, but I will have to look at SCRIBUS!
Great work Andy, well done.
Great tutorial Andy. I hadnt heard of scribus so i’ll have a look at that. I think your paper technique works better than lead foil as you get the bonus of being able to print out the outlines as you show on the tutorial. Oh and you should give your 15mm flags a try – it may sound counter intuitive but i think smaller scales are easier as you can be slightly more abstract/simplistic in the designs than you can be for 20/28mm
Very interesting, and great results Andy. You’ve always done excellent flags. I’ve tried similar methods and having a printed design to work on is very helpful. More movement in the flags can mean obscuring some of the pretty detail of course. I tend to wrap/bend the flag around a paintbrush at an angle of up to 45 degrees, which creates a more ‘active’ look to the flag but it’s not necessarily better. I’ve also started trying to give flags a ‘cross-wind’ effect, so that you can see them best from front and back (which is how we see our units most of the time), rather than the side.