Back in March (don’t time fly!) I had a first attempt at making some hedges for my 6mm games. I knew I’d seen the idea of using the scourers before and the credit must (at least for me) go to Michael at Angel Barracks forum with this article. The main difference is that I use the magnetic foam I purchased from Hobbycraft (although I’m not sure they still stock it). This seems heavy enough to stay in place and has a certain flexibility to it. The first couple I did were full length (c.12″) but the rest I decided to do in 6″ lengths – basically the length of the scourer and the same as in the original article. And I also paint them all brown before applying the flock. So anyway, here is the process:
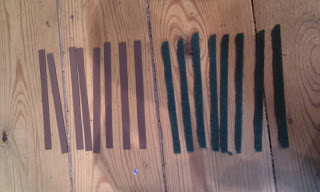
1. Cut the foam into 6″x10mm strips (metric/imperial – I don’t care!) and the scourer into strips with one flat side and one uneven to give the hedges a little ‘shape’
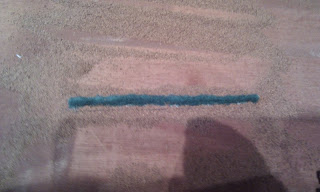
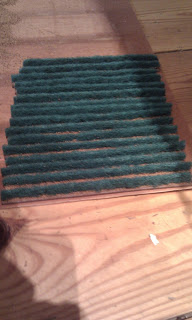
2. Apply neat PVA to the foam side of the strip and stick the hedge down the middle. And while the PVA is still wet apply a load of whatever you use to texture your bases. I use a fine/medium mix of railway ballast:
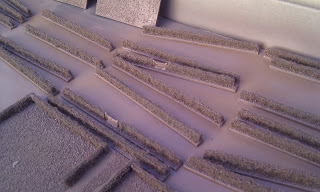
3. Once dry this gives you something like this:
4. I then sprayed the whole lot Army Painter Leather Brown. It’s a little lighter than the Burnt Umber I used for my normal bases but close enough. I then dry brush the ballast as I would my bases:
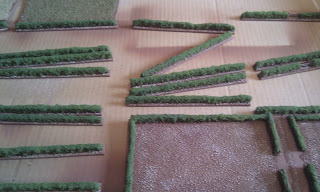
5. I then use a dilute PVA mix and paint the sides and tops of the hedge liberally and dip it in a fine dark green flock (mine is in a tub now and I can’t remember the make).
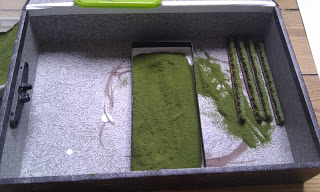
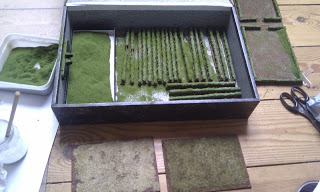
6. When you’ve done the lot let them dry fully. I also tried doing a larger field (right side) and a couple of smaller fields (bottom) which I applied static grass to.
7. Once it’s all dry the whole lot gets a coat of spray matt varnish to seal the flock.
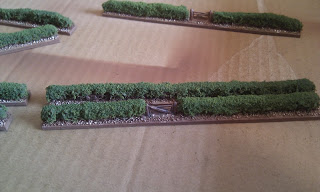
8. I even tried a couple with an Irregular Miniatures gate stuck in the middle.
The big field seems to have worked OK though I’ve yet to do the interior. I tried this on the two smaller fields but the PVA seems to have warped the foam more than I expected. I tried coating the reverse side to no avail. The foam is flexible enough to bend flat but at the moment it keeps warping back.
So I need to find either a non-shrinking glue or a different base material for this part. The foam (this was one sheets worth) was 59p. The scourers I paid 40p for a pack of five and have used three. And you can see how much of the flock is still left. So overall I nice cheap result. I quite like the green and I prefer the brown underneath as it means that if you miss a bit the brown ‘branches’ show through and you can leave a little gap at the base to show the ‘roots’ of the hedge.
I have a batch of roads nearly done (see the first article) and trees lined up next. Once the lot are done I’ll put together some ‘pretty’ shots!
.

Really nice work. Roofing felt has a very similar surface texture to the railway ballast and is heavy enough to stay flat but light enough to be very portable (of course you need the non-adhesive type!).
Very nice work Andy
Very nice idea. Looks great! Regards
Andy
Nice work. Did a similar thing with the scourers (in a previous war gaming life) but I mounted them to historical battle boards with white glue. First dipped them in black blackboard paint and let dry, then stuck down, then painted green, then drybrushed yellow green using poster paints.
For bocage first prepared a balsa strip painted dark grey made thick with filler for uneven finish then stuck hedge on top – looked OK.
Regards
I found that painting terrain in sections -in this case I would have painted the middle and used my Almost-Patented-Anti-Warping-Device (outlined with pics here http://thewordsofsubedai.blogspot.com/2011/04/almost-patented-anti-warping-device.html
– and then painted the two outside strips. I haven't had a problem with warping since.