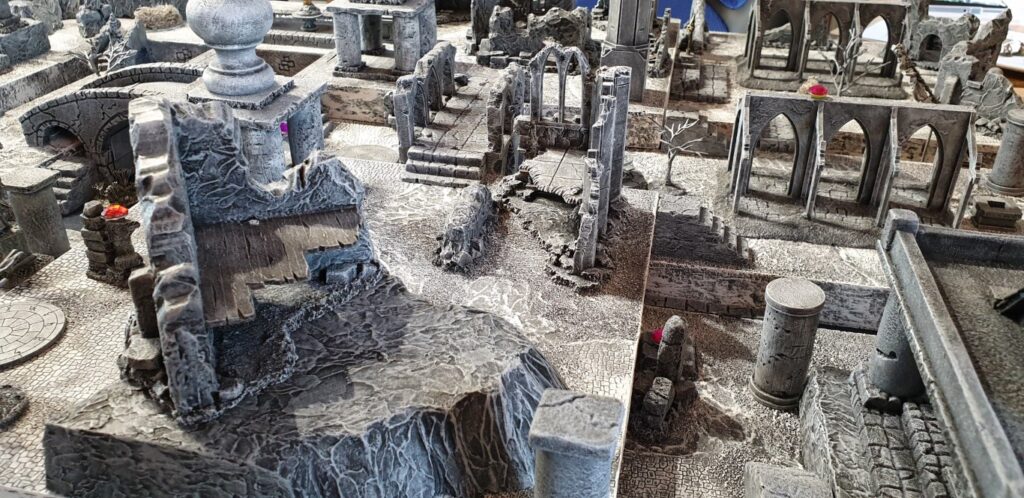
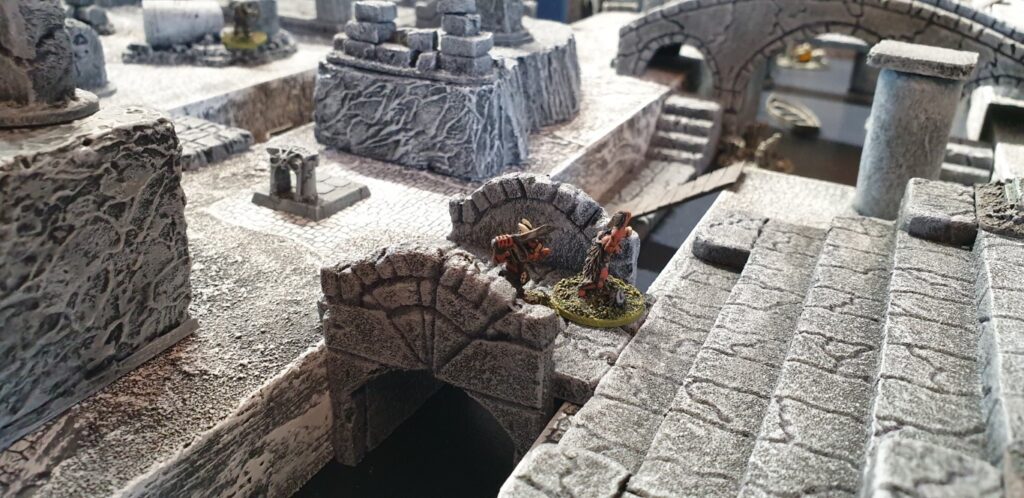
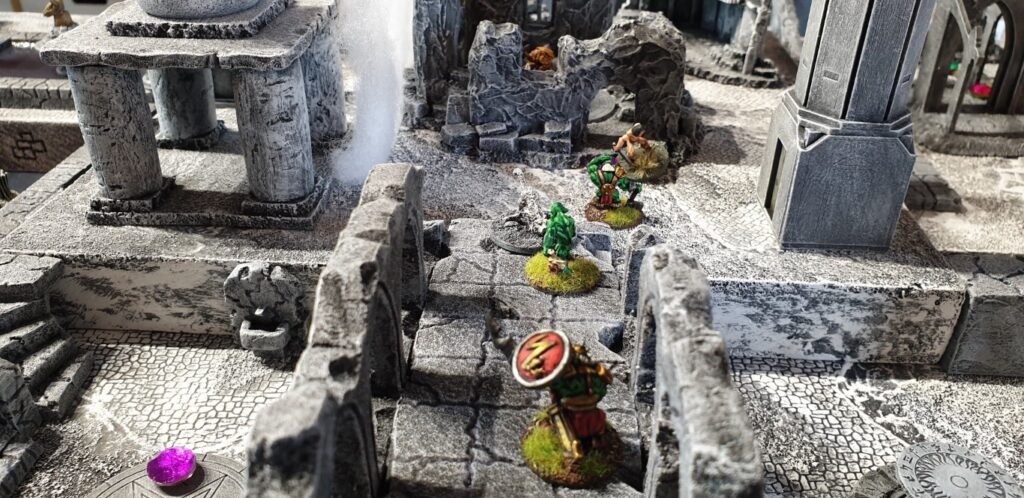
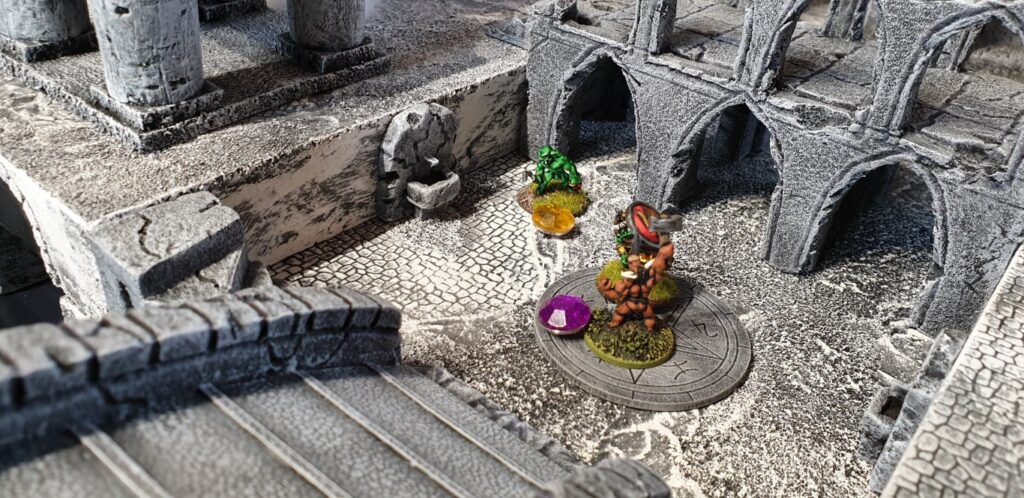
I’ve spent the last few weeks building terrain for my 15mm Frostgrave (not frosty) and finally last night I laid it all out and to be fair, I’m quite pleased with it!

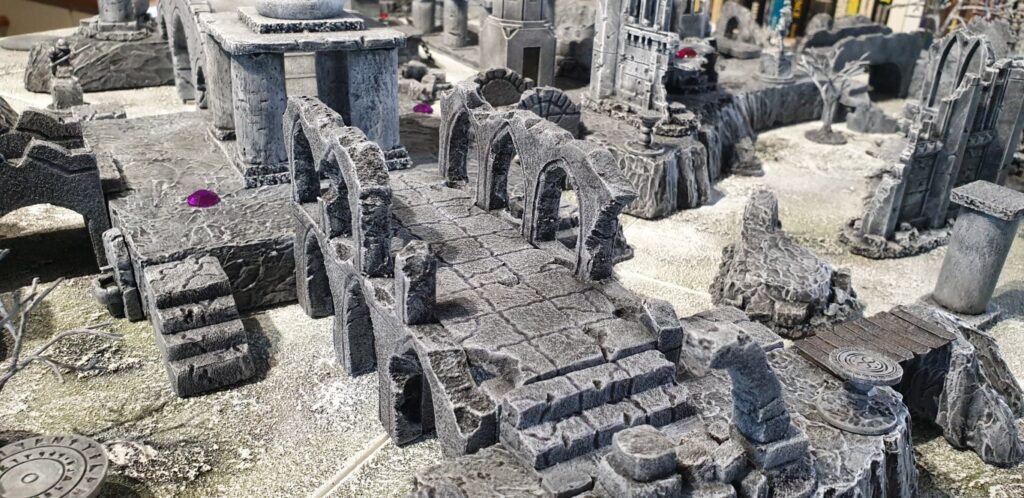
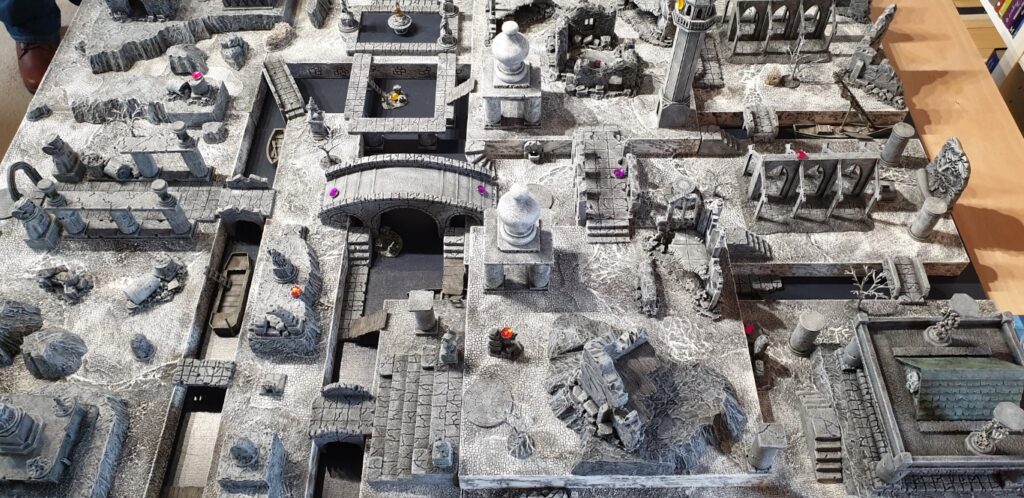
A few people asked for details on some of the builds so I thought I’d do a quick blog post to provide some info. But first some background to put it all in context. Back in 2019 I played two games of Frostgrave down at Newark with Dave Hall (World2Dave). Dave does Frostgrave in 15mm but has some suitably epic scenery! And as you’ll see from my details below, I nicked a lot of ideas off him! Here’s a taster of his brilliant Frostgrave setup and you can find more on his excellent blog: The Medetian Wars.
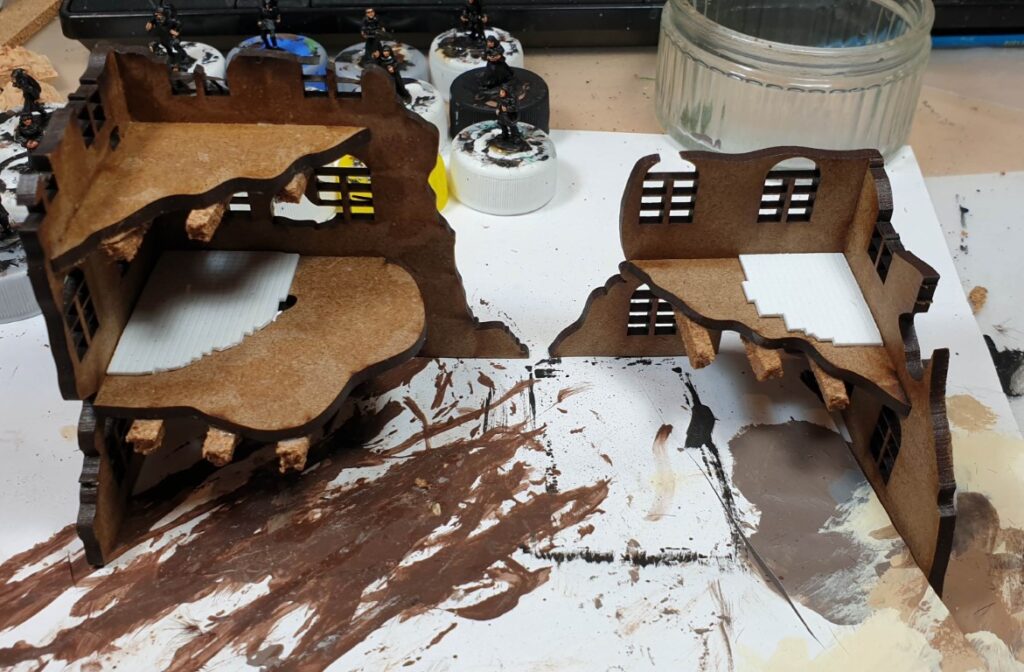
Although it was tempting to go traditional icy Frostgrave and I’d seen others do desert based versions, I wanted to use any figures I painted elsewhere and I wanted to use the same basing style I used for ALL my stuff! So I decided to go for a swamp/marsh/overgrown feel to my abandoned city. One thing Dave recommended was keeping the tone/colour/style the same throughout and to aid that doing the scenery in a big batch! So I spent about a year picking up bits and pieces of resin scenery from shows/eBay, bits of MDF ruins, corks for making pillars, and basically anything that looked useful! As part of an eBay purchase I’d been given some old GW 40K ruins which at the time I thought I’d never use so GAVE them to Dave! I then had to get more on eBay (luckily at decent prices)… I also had bits of resin (vases and stone wall segments from Michael at Crom’s Anvil. So it was just a matter of pulling all these together and making a start. First pieces I tried were on bits of MDF I had spare but most of the later stuff was put on 4mm cork tile (as per Dave’s suggestion) which is light, gives a nice broken edge, and fragments can be used for rubble effect. Only extra thing I did was coat it in Gorilla Wood Glue to seal and toughen it.
So I’ll go though a few pics of different pieces and comment on how they were made.
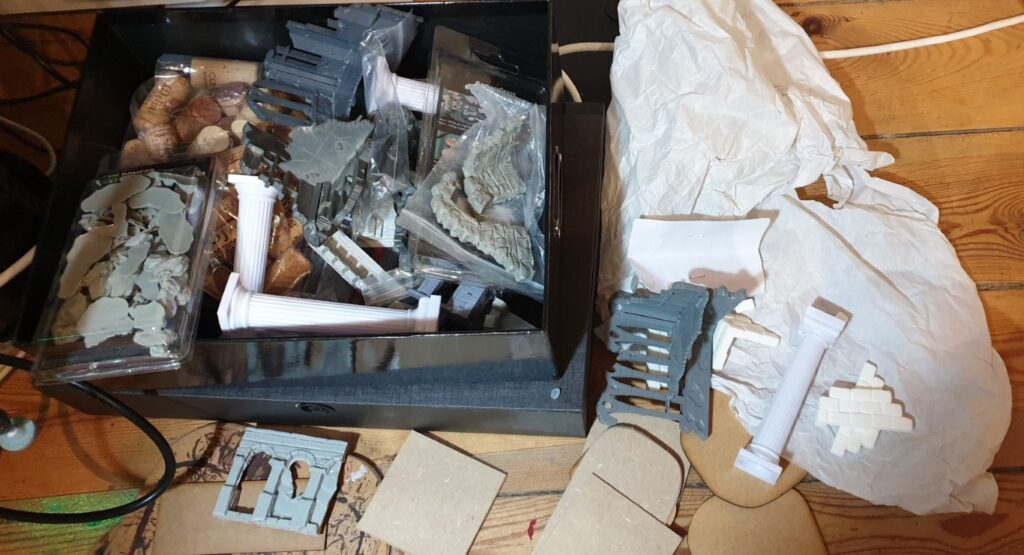
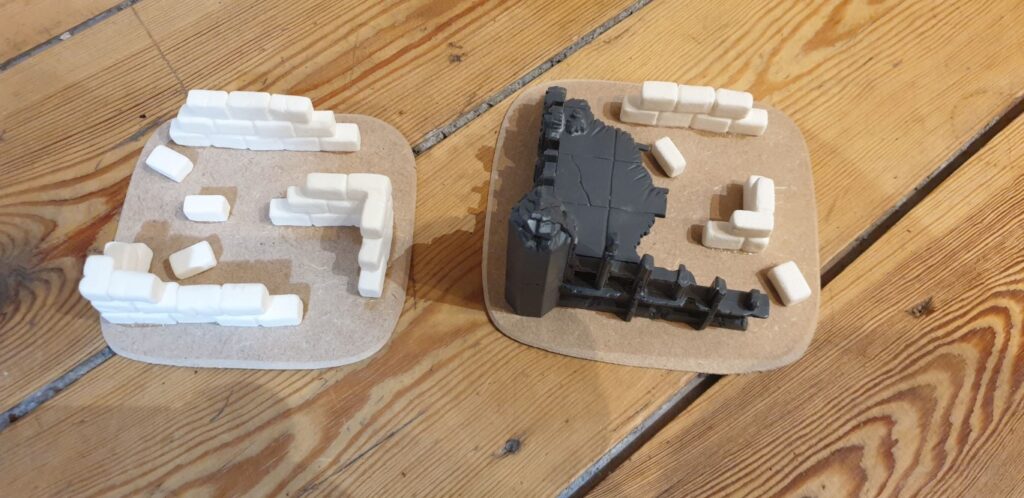
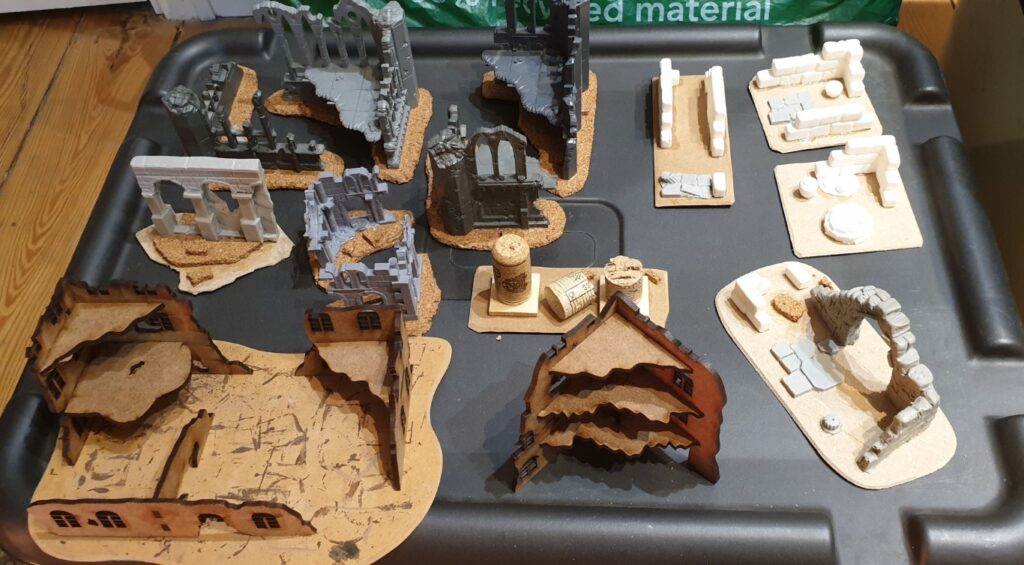
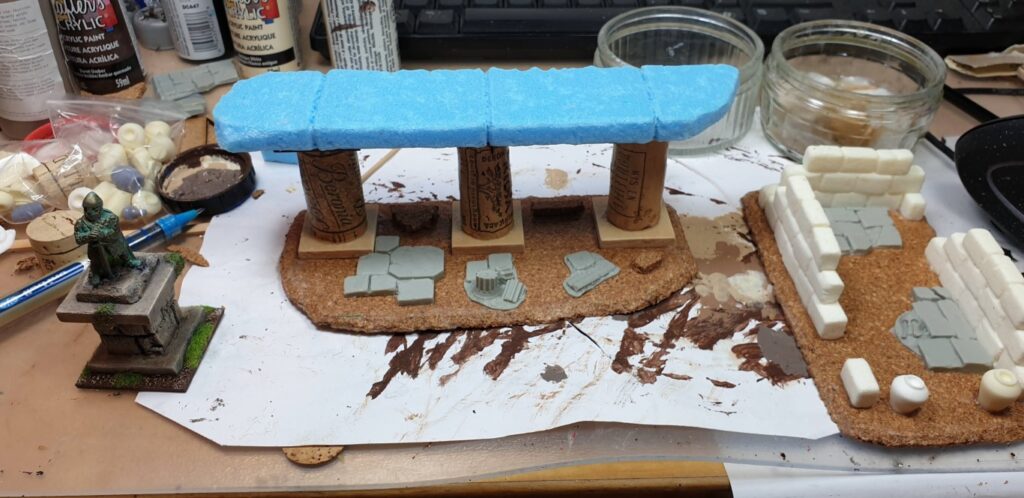

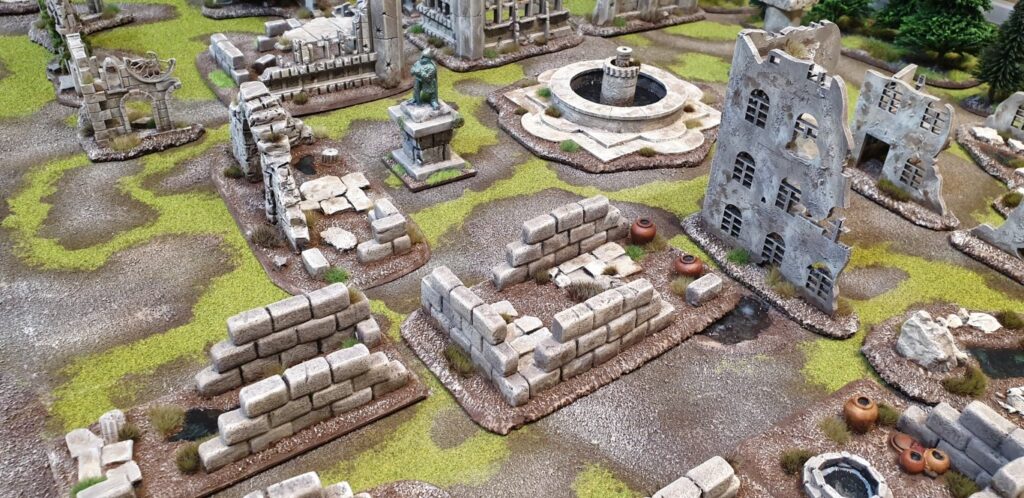
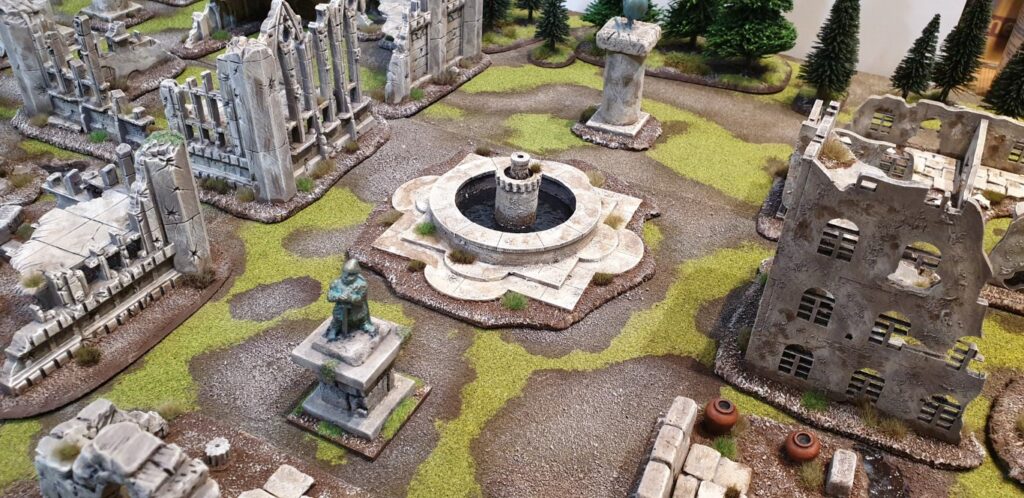
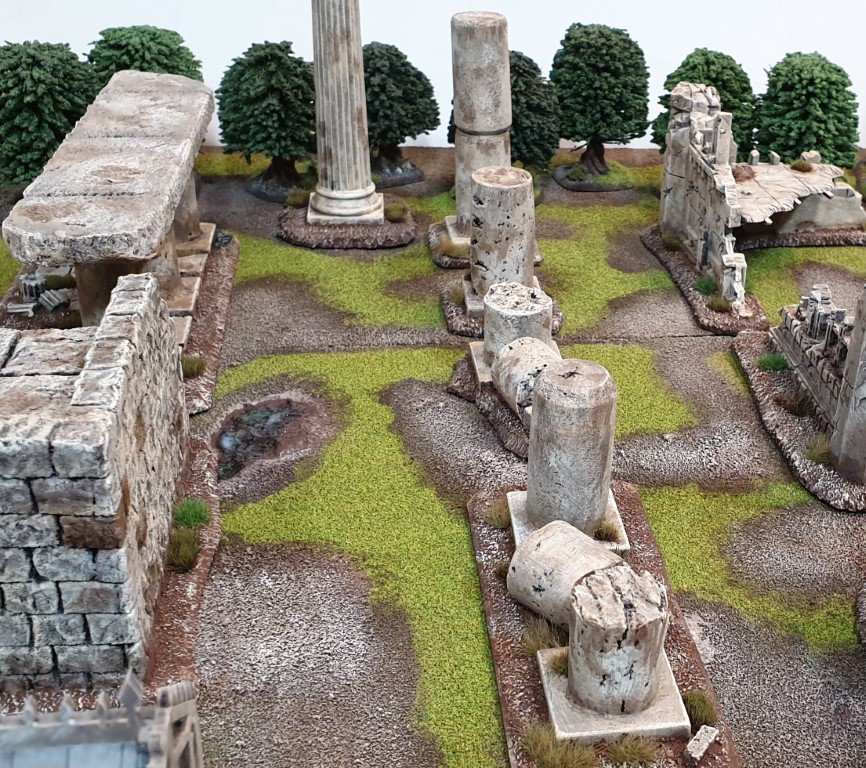
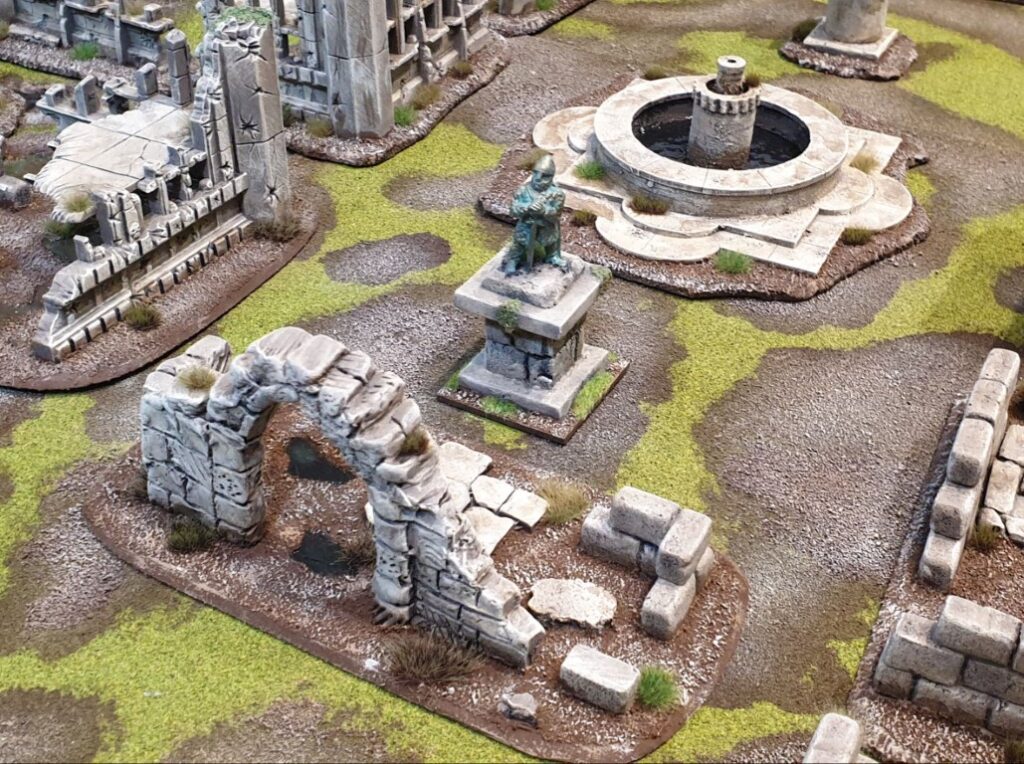
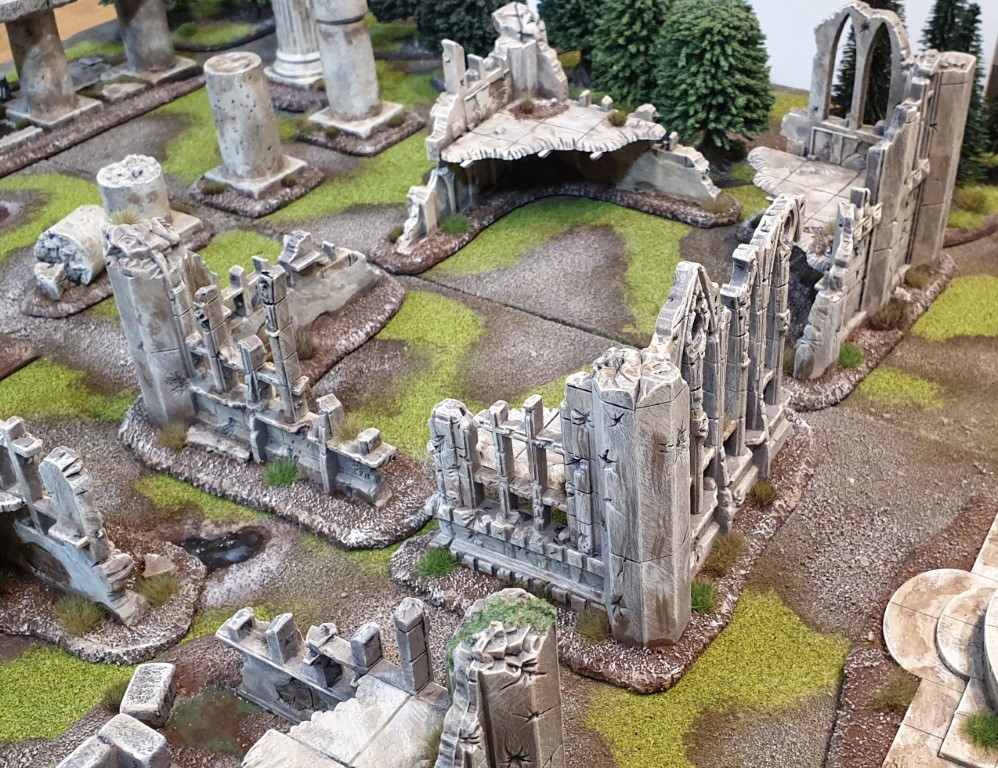
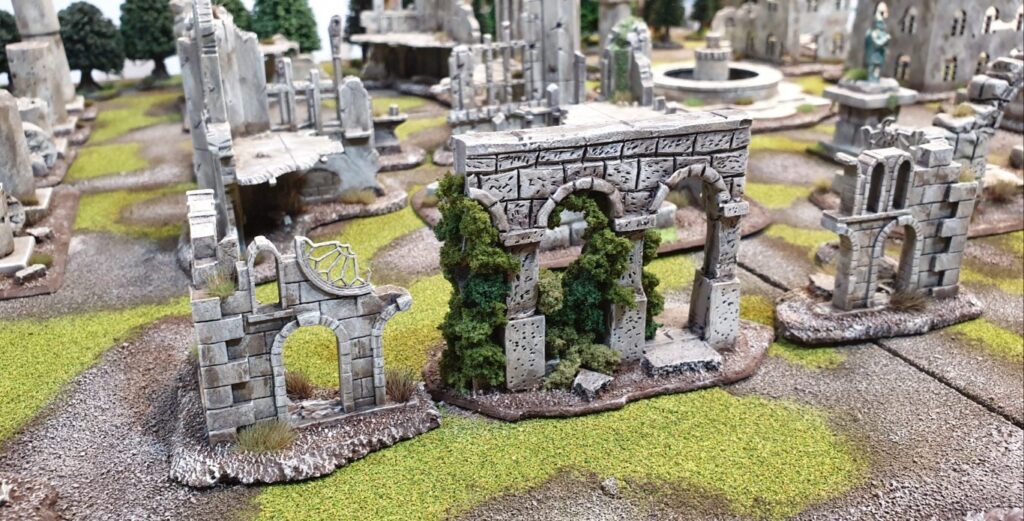
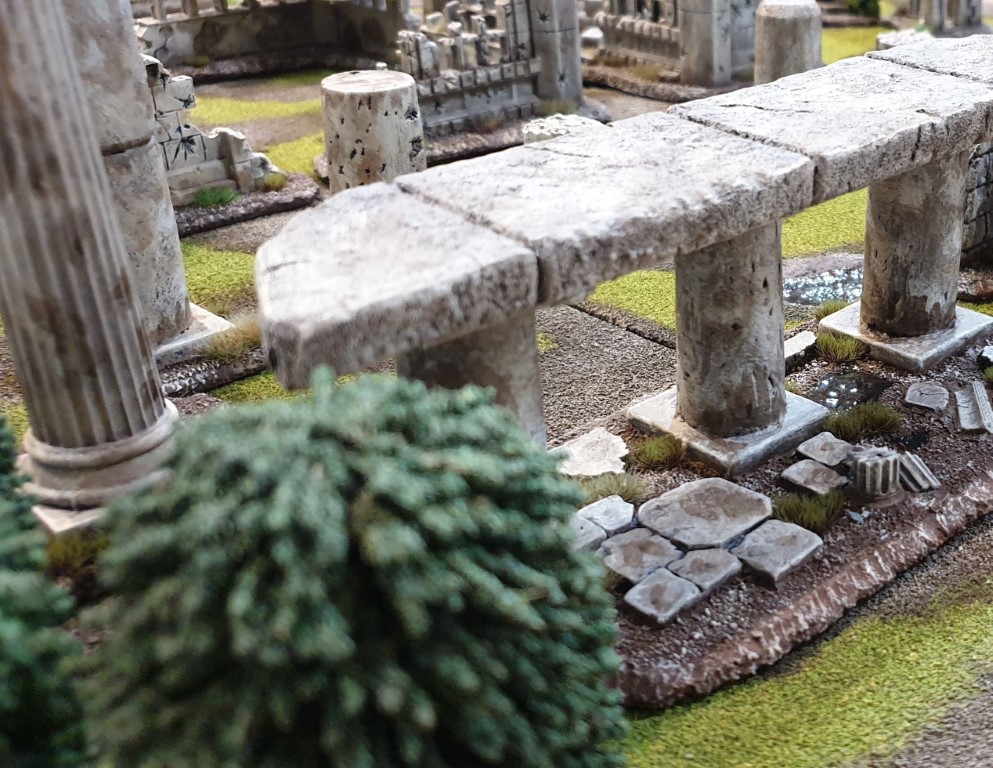
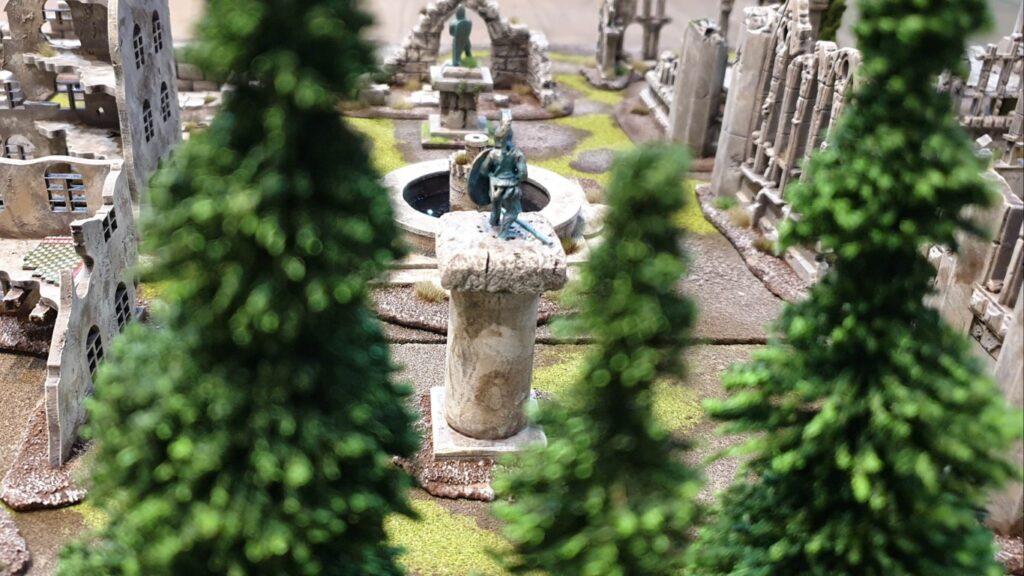
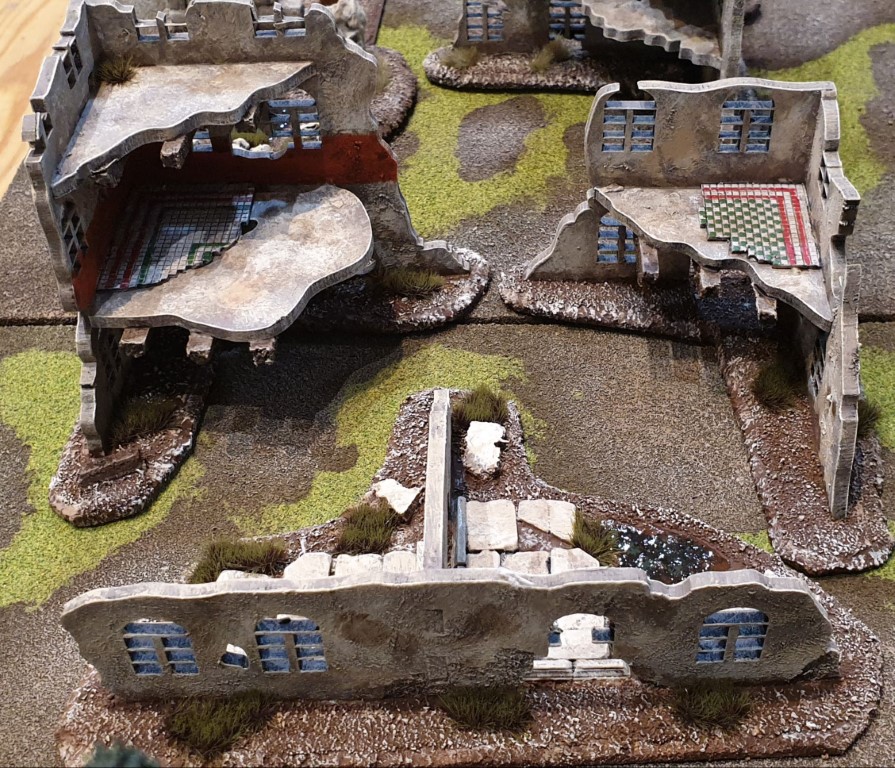
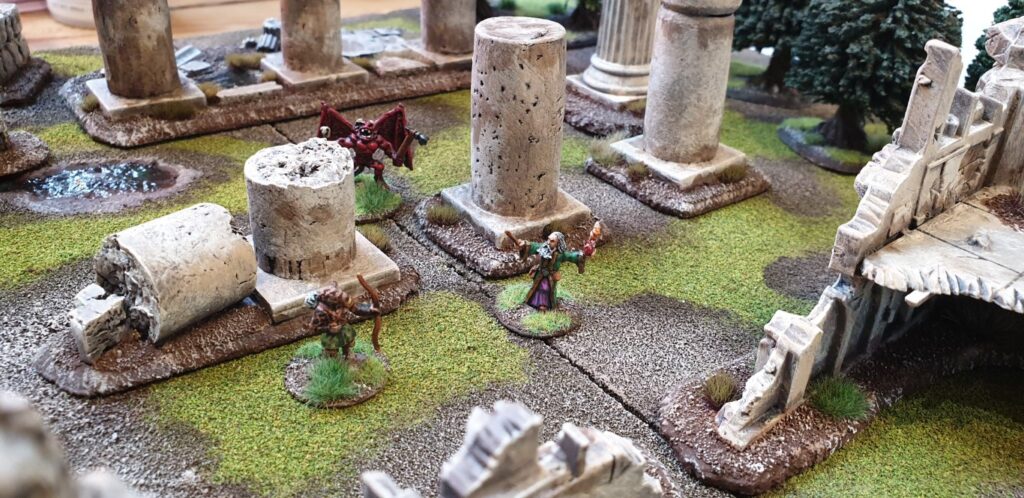
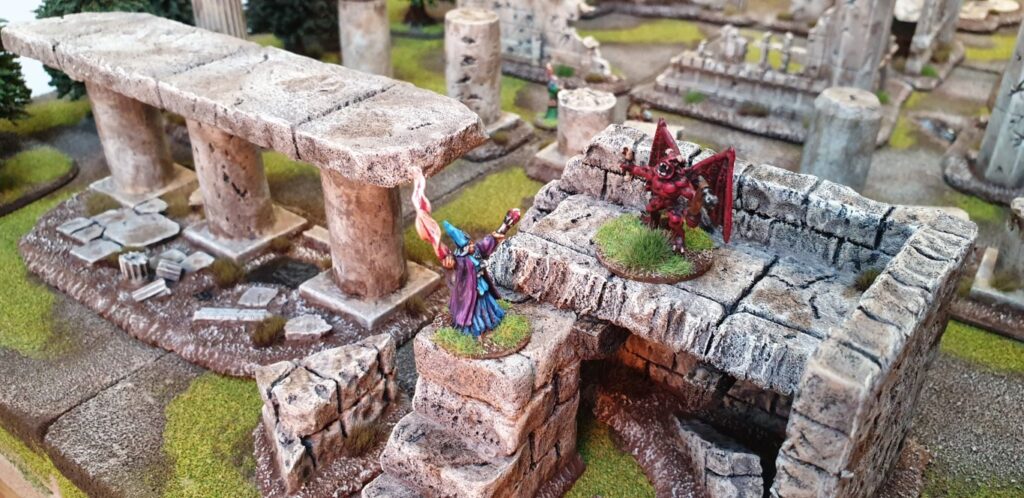
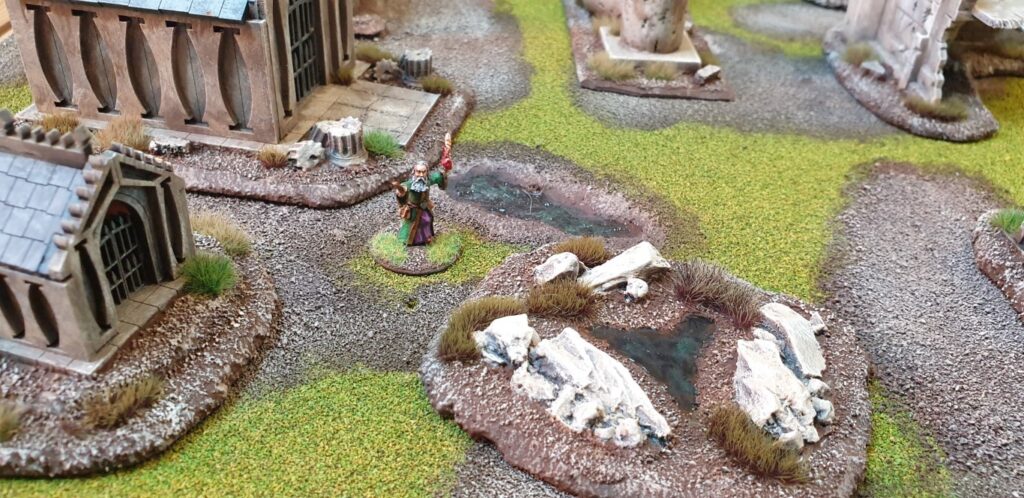
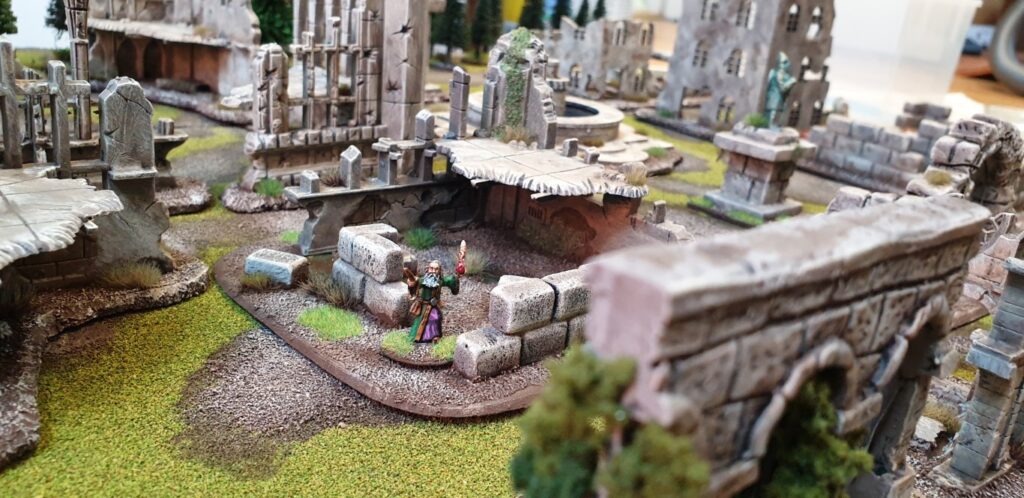
I didn’t want to go for grey stonework and it took a few goes to get a colour I liked. Everything is primed black (either spray or black Mod Podge. Base coat is Crafter’s Choice Acrylic Taupe. Then heavy drybrush with DecoArt Crafter’s Acrylic Tan. And finally highlight with DecoArt Antique White. Bases of walls have some Agrax Earthshade applied to indicate splash from rain and this is also daubed sparingly on other parts of the models. I’m happy with it.
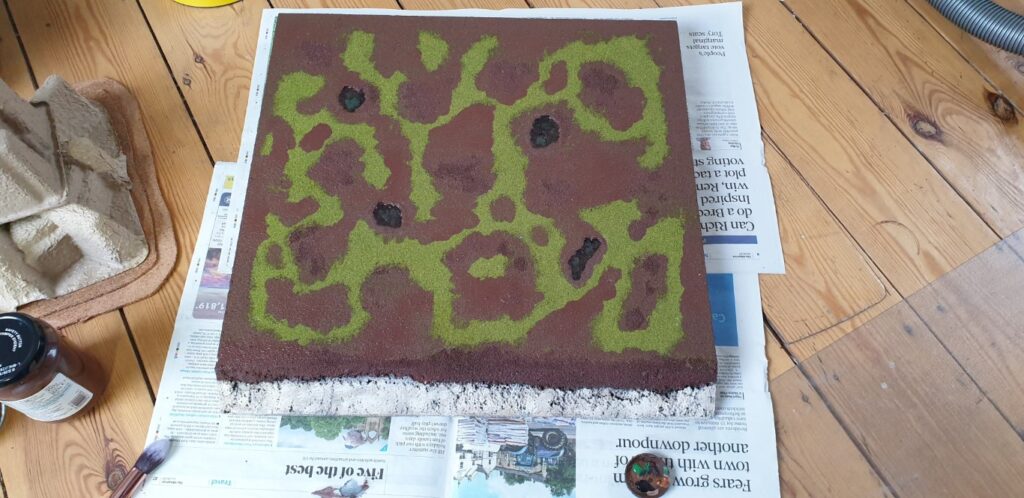
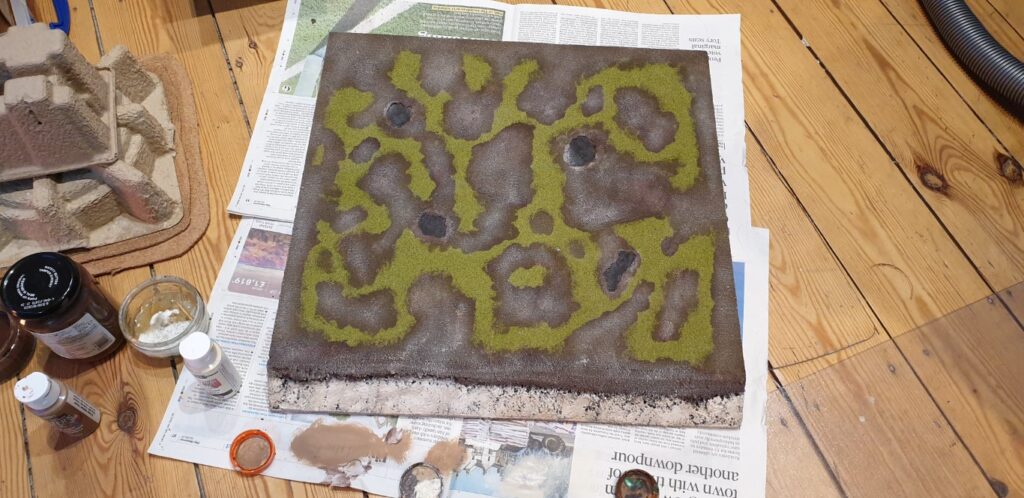
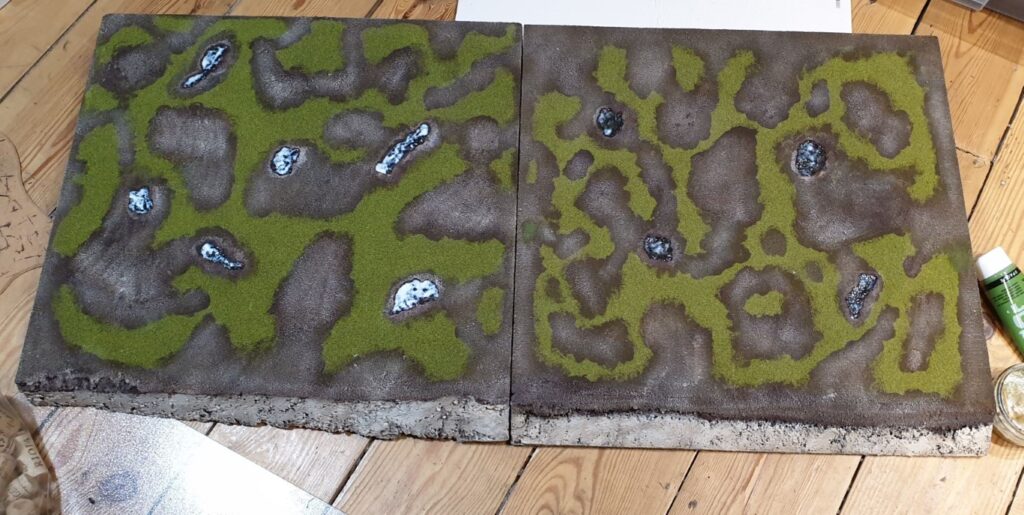
The terrain tiles I have had for YEARS!!! They are Purbeck Terrain. Made from normal polystyrene so a little fragile but I have enough for about a 3×3 or a 4×4 table. I wanted to have the option of a river at some point but didn’t want to try and cut a channel in them so one edge was cut roughly and textured and painted to be a steep river bank. This edge was sealed with Gorilla Wood Glue and that seemed to toughen it up nicely. For the other side I intend to make some sort of quayside. Possibly fixed to the tile, possibly something that can be added. I didn’t want to add tufts or grass to them so just painted random patterns in my basing colours and pressed some indents in to create little water pools.
So there we have it. I’ll be doing some sort of city wall fragments next, then the quayside, then more of the residential ‘ruins’. And more columns. And maybe a bloody big temple! Hope this has been some help.
A
Excellent stuff! You’ve been very industrious and the quality of the scratch built scenery really makes the MDF ruins look ordinary….despite the quality of what you’ve done with them. No need to stop now though….imagine what a 6×4 table full would look like 😀
I fear 6×4 could become a reality…
This is seriously good looking terrain, Andy, and the construction photos are very helpful.
I hope you get a game very soon.
And now I can’t get that blooming song out of my head!
Iain
Great work there Andy, very gameable terrain!–and worth all the work you put into it!